How to Make Your Own Garden Stepping Stones
Create a Path of Mosaic Garden Stepping Stones
Turn broken pottery into little works of art when you make your very own mosaic garden stepping stones. All it takes are pieces of broken pottery or tile, a few hours and some of your own creativity. This is also a fantastic way to get the whole family involved in your lawn and garden décor. Every family member can craft his or her own stone to add to the path!
Step 1: Break It Up
Start with broken pieces of pottery. This can include pieces of terracotta pots, bits of glass, stones, pieces of china, glass, crystals, marbles and glass tile. If you want smaller pieces, wrap them in a heavy cloth or T-shirt and use a mallet to break them up. You can also use tile nippers like scissors to trim glass tile and shape it. Be sure to wear safety glasses while you are breaking up pieces and use rubber gloves to keep small shards from getting in your hands.
Now that you have all your pieces, lay them out in a pattern on a table. To make it easy to replicate the pattern, create your design on a piece of paper the same size as your stepping stone or on an extra stepping stone. Take your time arranging the pieces and trying out different patterns. This is the time to try different ideas, when you don’t have quickly drying mortar to contend with.
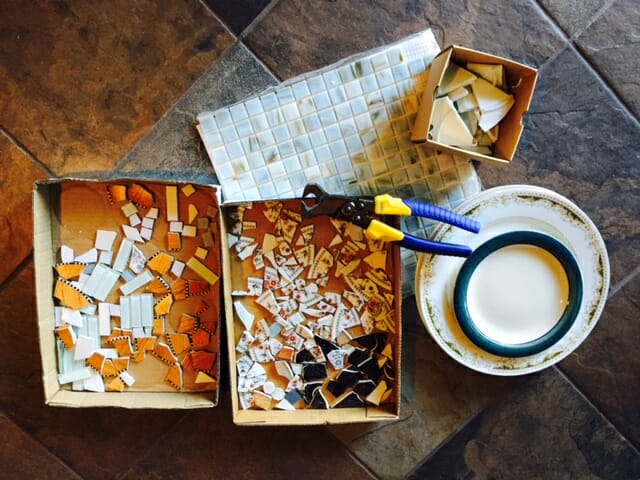
Step 2: Put Them in Place
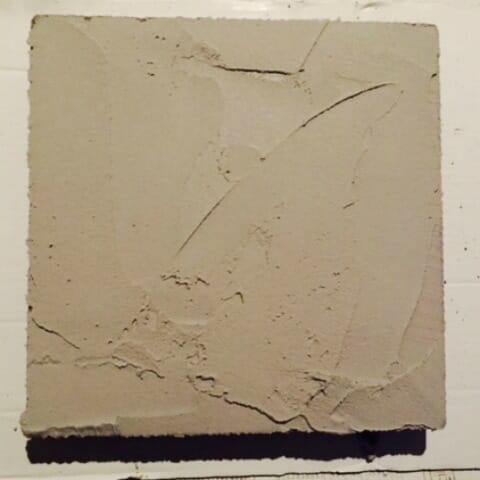
Use a plain concrete stepping stone or the base of a terracotta pot to make the base of your stepping stone. Then using thin-set mortar, prepared according to package directions, use a notched trowel to spread about a ½ inch of mortar on the wet stone.

Press pieces according to your design into the mortar, leaving room between them for grout. Mortar will dry in about 15 minutes, so work fast. Once all your pieces are set and the surface is even, let the stone dry overnight.
Step 3: Fill the Spaces
Mix grout according to package directions, then scoop a large amount on top of the stones. Spread with a trowel and fill in the gaps between the pieces. Remove any extra as you go along.
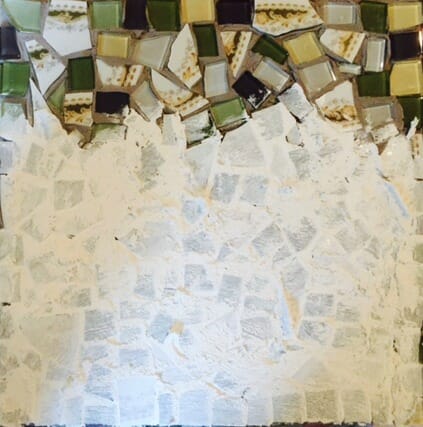
Step 4: Sponge It Off
Use a wet sponge to clean off the excess grout from the sides and top of the stone. Wipe in all directions and rinse the sponge out often until the stone looks clean and how you envisioned it. Let the stone dry 24 to 48 hours then buff it with a soft cloth.
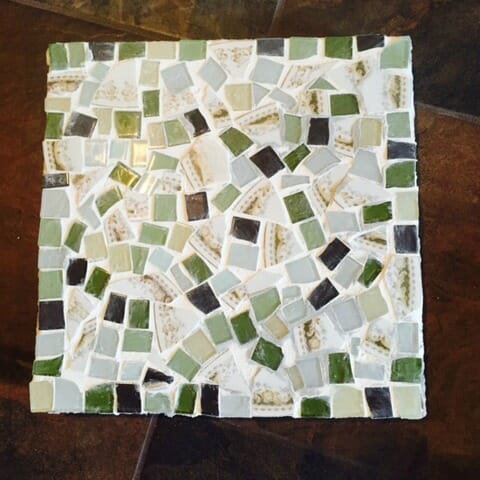
Step 5: Garden Placement
The best step of all is the one when you get to place your one-of-a-kind creation in your garden. Create a path with multiple stones and let these fanciful garden decorations be the perfect complement to your garden’s beauty.



Comments (3)
judi bola
Thank you for the auspicious writeup. It in fact was a amusement account it.
Look advanced to more added agreeable from you! By the
way, how could we communicate?
agen sbobet
Today, I went to the beach front with my kids. I found a
sea shell and gave it to my 4 year old daughter and said “You can hear the ocean if you put this to your ear.” She placed the
shell to her ear and screamed. There was a hermit crab inside and it pinched her
ear. She never wants to go back! LoL I know this is totally off topic but I had to
tell someone!
Ben Allen
I appreciate the information on how to make your own stepping stones. I agree that it is important to find a good placement in your garden for your stepping stones so it makes your garden look better. I would imagine that sometimes placing stepping stones can be tough and it takes some talent to place them in the right spot.